Have you ever had a shopping high when you tried on a new shirt or pair of jeans that just absolutely makes you feel better than when you first walked into the store?
No, it doesn’t happen very often but when it does you just better look out. Without thinking your attitude changes, the way you walk changes, and you just feel good about yourself.
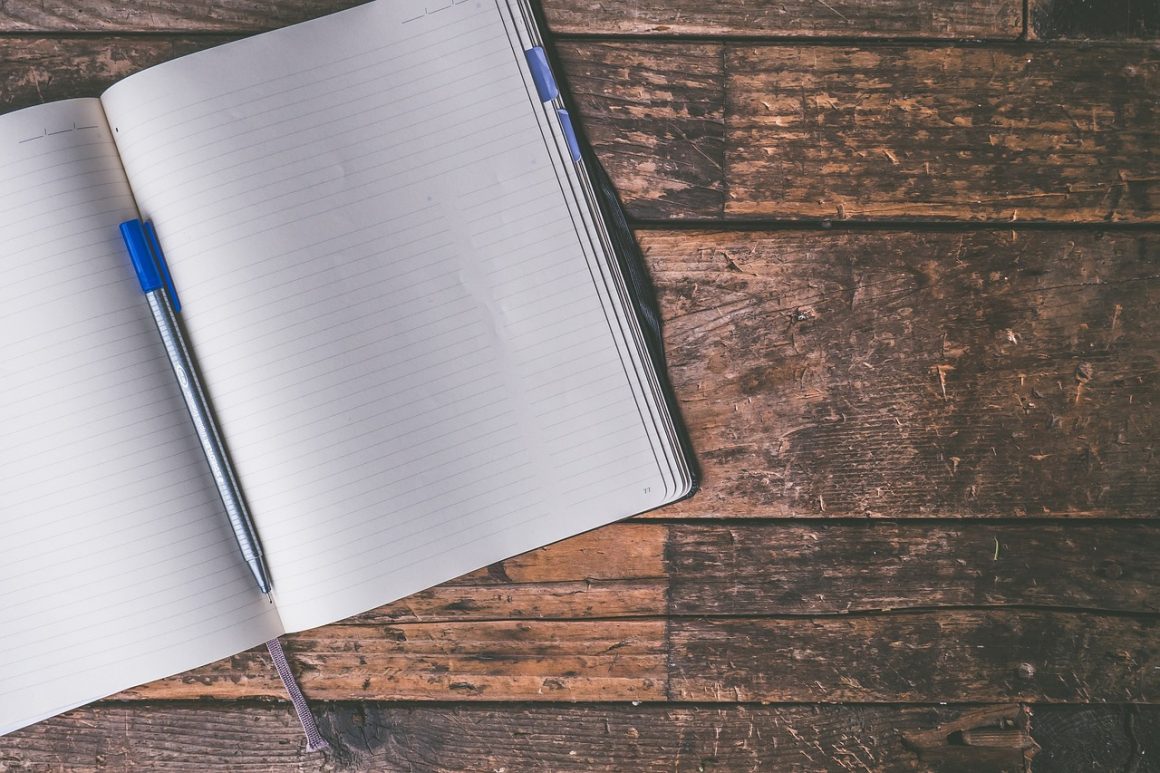
That was yesterday. Today you stand in front of the bathroom mirror staring at the orange highlighter stain on that new shirt. And your new jeans have a round puddle stain over the back pocket where you stashed your ink pen before climbing into your car…so it’s on your cloth bucket seat, too.
The Solution: Pitch the stained clothing into the nearest trash can and buy a seat cover for the Camero.
NO WAIT! Just kidding. There is a way to get most of these stains out without damaging the item. And the few ingredients you’ll need are probably already in your cupboards.
Making It Clean Again
The problem of how to remove highlighter will be looked at from a couple of different angles. We will start with the “home remedy” solutions and finish with the chemical solutions that you can buy in the store.
[powerkit_alert type=”success” dismissible=”false” multiline=”false”]
We’ll be looking at how to remove highlighter from different items:
- How to erase highlighter from a book or other paper product
- How to remove highlighter from cloths
- How to get the highlighter out of fabrics
- And more specifically, how to get the highlighter out of jeans.
[/powerkit_alert]
But first, let’s take a look at one particular caution that you should take while trying to remove a highlighter stain from clothing and fabrics.
“Always test (your remedy) on a small area” -preferably an area that is normally out of plain sight. This is a true statement in many situations but we all know that ink stains and highlighters never show up in concealed places.
So follow that advice when possible. But if it is not possible always try the solution with the most natural ingredients first. Like good old soap and water, rinsing often, and repeating. If the stain remains then move on to the next solution.
The Best Solution
“I am really getting sick of this phone! Lately, I can barely get through a conversation before the darn thing hangs up on me!” Does this sound familiar?
Were you tempted to reply, “Uh, why don’t you just get a new carrier?” or “Why don’t you trade your phone in for one that doesn’t drop your calls?”
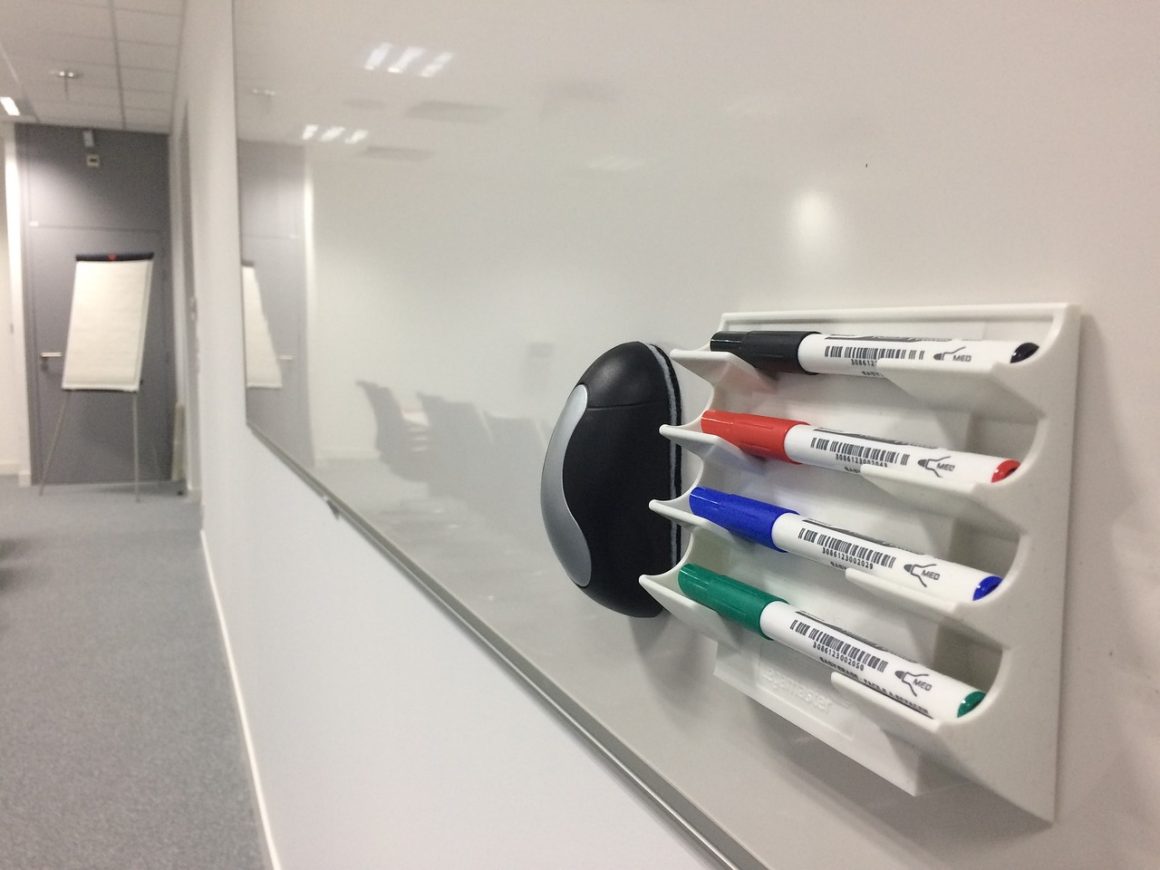
How many times do you have to stain your clothing or other items before changing the type of highlighter and pens you buy?
So the best solution is not to get a stain in the first place, right?
That’s where erasable pens, highlighters, and colored pencils come into the picture.
There are many brands but they are pretty much all based on the same technology.
The eraser looks like a traditional eraser for the most part but there are no rubber crumbles or smear marks left behind.
The ink that these pens use is removed with the heat produced by the special eraser during the act of erasing.
Pretty cool, huh?
So the paper isn’t worn down and when used on a piece of fabric there is no residue or bleeding. What will they think of next?
SO HOW DO I GET THE DARN STAINS OUT?
There are many home remedies that people swear by but in our research one or two popped up consistently. For paper, it was the first solution more often than not and for clothing, general fabric, and jeans it was the 2nd one:
[powerkit_alert type=”success” dismissible=”false” multiline=”false”]
We’ll be looking at how to remove highlighters from different items
- The lemon and cotton swab treatment
- The rubbing alcohol/paper towel/laundry treatment
[/powerkit_alert]
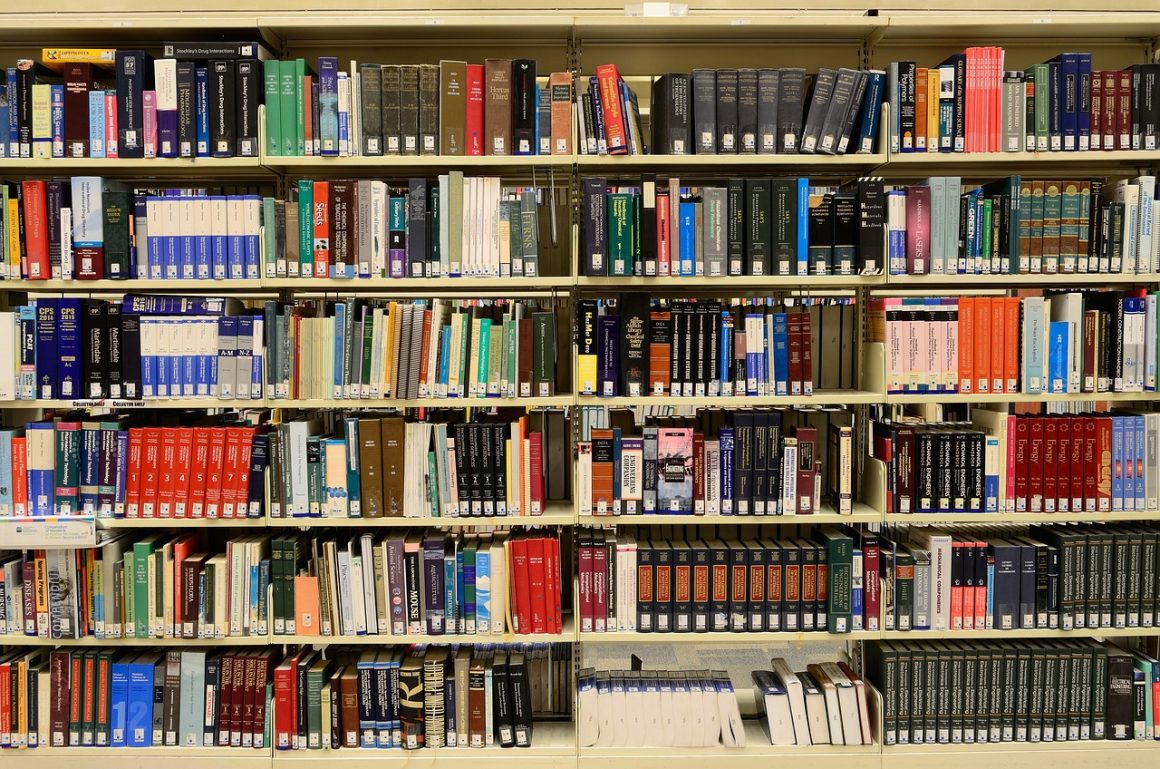
So you’ve got a book from a garage sale that you have not been able to find anywhere. You get it home and it is highlighted repeatedly with a yellow and orange highlighter. This book goes for good money on eBay but not in its present condition. What to do?
HOW TO REMOVE HIGHLIGHTER FROM BOOKS
This is the easiest solution and most frequently posted. It involves only two ingredients, three if you count the paper towel.
[powerkit_alert type=”success” dismissible=”false” multiline=”false”]
We’ll be looking at how to remove highlighter from different items:
- First, place a doubled paper towel under the page you will be working on to prevent bleed-through.
- In a small shallow dish pour a tiny amount of lemon juice…you can always add more if you need it later.
- Dip the tip of a cotton swab into the alcohol but try not to saturate the cotton. If you do, squeeze a bit of it out. Lightly rub the swab over the highlighter in the same direction as the original stroke.
- Do this repeatedly until the highlight is gone or to where it won’t easily be noticed.
[/powerkit_alert]
HOW TO REMOVE HIGHLIGHTER FROM CLOTHES
The Most Common Solution
Remember that the longer you wait to treat a highlighter stain the harder it will be to remove. So you shouldn’t just toss the clothing into the laundry basket and work on it when you find the time.
The technique for getting highlighter stains out of fabric, jeans, and clothes, in general, is pretty much the same.
With a slight variance when it comes to getting the highlighter out of large fabrics such as bedsheets and I will cover that at the end of this segment.
You will want to start by blotting any highlighter ink that is still wet with a paper towel or rag. Then pour on a good quality laundry pre-soak product. Rub it in by hand and let it sit for about fifteen minutes.
Next, rinse the stain under warm water until the pre-soak is flushed out. If the stain remains, use regular liquid laundry soap and warm water.
Rub it in good by hand–don’t use a brush because it will just push the ink deeper into the cloth fibers. Rinse and repeat this a few times until the stain is removed.
If there is still a noticeable stain after using the laundry soap and warm water, the next step would be to use rubbing alcohol. Needless to say, test an inconspicuous area first, if possible.
Spread out a white towel (for visibility) on a counter or tabletop and smooth out your clothing article over it. Drizzle rubbing alcohol over the stain as you dab with a clean cloth.
Continue to drizzle and dab as you move the piece to new clean sections of the towel to catch the dissolving ink so it doesn’t pool and spread the stain.
If rubbing alcohol is scarce, you can use hand sanitizer. It is mostly alcohol anyway. Nail polish remover (non-acetone) and hair spray have also been touted as alternatives but caution is strongly suggested.
SO TO SUMMARIZE…
- Don’t freak out if you happen to get some highlighter ink on a book or your clothing. The odds are good that a simple solution can be found.
- Always use the remedy with the most natural ingredients first.
- When finished with the treatment, launder clothing items as you normally would.
- Start to buy highlighters that are designed to be erasable to save yourself headaches in the future.
We hope this article has given you insights and tools for your need to remove highlighter stains. There are listed below some links that will familiarize you with the commercial products available. They’re provided as an alternative approach if homemade solutions are not your thing.