Markers can be one of the most useful writing utensils around in various situations, but nothing is worse than when you need to write something and your marker is dried up! Many people just toss the marker across the room or in the trash, but if a marker is dried up that doesn’t mean that it can’t be revived!
Many people throw out their markers if the tip seems to be dried out, but the truth is that these markers usually have a lot of ink left in them that could make them worth saving.
If you find yourself wanting to try and revive your markers, have no fear because we have discovered easy ways to help you revive your favorite dead markers even if for just a little while, which will help you to continue with your drawing or writing.
Each marker type is slightly different, which means that you will need to take special note of the type of marker you want to revive to ensure that you are using a method that will work for the specific type of marker. This is where we can help! Here are some different methods of reviving different types of markers. Let’s get started.
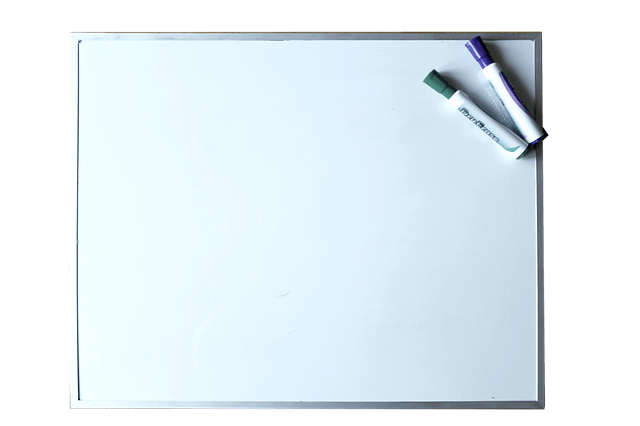
How to Revive a Dry-Erase Marker
Unlike other markers, dry-erase markers can be an annoyance to keep from drying out, and they are known for easily drying out after extended use periods or lectures. Dry-erase markers do not use the same ink as regular coloring markers, which means that you have to do more than merely moisten the tip to revive them.
With these types of markers, the best approach to reviving them is by getting to the ink that is already inside the marker. First, you want to get a strong piece of string and tape the end to the maker securely.
After this is done, you want to swing the marker above your head using the string like a lasso. When doing this step, it is important to ensure that the top of the marker is connected securely. If it is not, there is a possibility that the ink in the marker could splatter out of it.
If this doesn’t work, you can grab a pair of pliers and lightly grip the tip of the marker and pull it out. Most marker tips can be removed with little effort, and then, you just have to flip them around and stick them back into the marker.
This will allow the dried tip to be soaked with the ink, which will follow through to the other side. For the most part, you should be able to use your marker now, but if you prefer the original tip of the marker, you can simply flip it back around after it soaks up the ink.
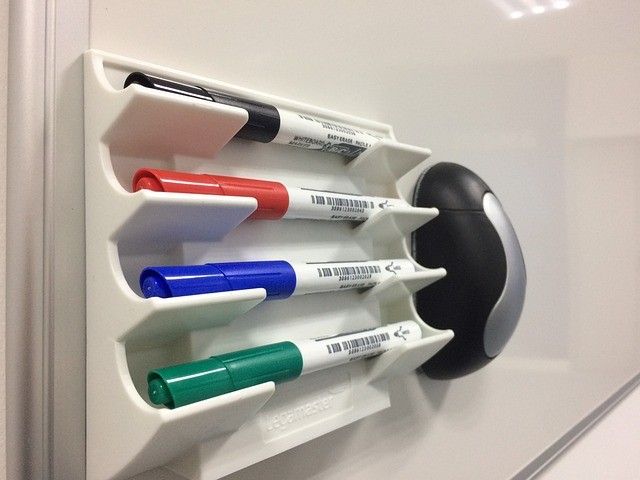
How to Revive a Whiteboard Marker
Whiteboard markers are a lot like dry-erase markers, except these types of markers usually have a more refined tip that is required for them to write properly.
Therefore, it could be difficult for you to pull the tip out of the whiteboard marker like you could with the dry-erase marker. The lasso trick should still work with whiteboard markers, but if the need arises to remove the tip like the second option, you should be very careful with the tip.
Whiteboard markers have a different style tip that if applied with too much pressure at any given area could split apart, which would make the marker harder to write correctly.
Whiteboard markers use a different style of ink than water-based markers and permanent markers, and therefore, it is important to note that merely moistening their tips will not work.
This is important to remember, and it is important to note that not all markers will be able to be revived. If a marker already has a warn-out tip from prolonged use, trying to revive the marker might be more of a hassle than just replacing it.
Not to mention, if the tip of the marker is damaged, it could leak out of the marker, which could cause an unforeseen mess when trying to write or use the marker.
How to Fix a Permanent Marker
Reviving a permanent marker, like a Sharpie, there is a simple method that is a lot like reviving a regular watercolor marker. Instead of using regular water to soak the tip of the permanent marker, you can use rubbing alcohol.
For this method, you will want to fill up the cap to the bottle of rubbing alcohol with rubbing alcohol and put it down on a flat surface to help ensure that the liquid won’t get spilled out of the cap.
You don’t need a lot of rubbing alcohol for this trick to work. All you have to do is be able to submerge the tip of the permanent marker into the solution, and if you were to fill a larger container it would be wasteful.
After the tip has been fully submerged in the rubbing alcohol, you will put the cap on the marker and let it try. If the marker had more ink in the marker, you should see a small amount of ink swirling around in the rubbing alcohol.
Once this is done, all that is left to do is place the marker into a cup or mug with the tip pointing up for 24 to 48 hours. After this period has passed, if there is any ink remaining in the marker at all, it should once again write like it did when it was first opened. If this doesn’t work or if you do not have the time to wait, you can try one other thing.
Permanent markers might be able to get fixed if they have moisture directly injected into them. This can be done with a syringe, and you can use either rubbing alcohol or nail polish remover in the syringe. You will want to push the syringe deep into the marker through the tip, and then slowly push the chosen solution into the marker.

How to Revive a Water-Based Marker
If you thought we were going to leave out water-based markers, then you would be mistaken. These types of markers are mostly used for coloring or shading, which can lead to the tips drying out after prolonged usage. The way to revive these markers is very simple. All you have to do is grab a medium-sized bowl and pour about 1 cup of warm water into the bowl.
It is important to note that warm and hot water is not required, but it does diffuse ink faster, speeding up the process. Submerge the tips of the markers into the water and leave them there for approximately five minutes.
After the time has passed, take the markers out of the water and dab the excess water off of the tip before lying the marker down on the rag to allow it to dry some.
You want it to dry some but it is important that you do not allow it to over-dry. This would put you in the same place you started. Once the excess water is gone you can put the cap back on and continue to use it as needed.
Insights and Takeaways
So many people throw out markers that still have a large amount of ink left in them, which is wasteful. Sometimes it can be an annoyance to have to revive a marker, but it definitely does help if you are in a bind or have time restraints to get something done.
It also will keep you from having to waste money on new markers when the markers you have are still usable with a little tender love and care.
The above revive methods are not the only methods that are out there, but they are the easiest methods that we have come across for the three different types of water.
They can all be fixed with common household items, which means you don’t have to make a special trip to the store for items or new markers as long as the markers are simply dried up and not completely out of ink.
Finally, it is always important to weigh the benefits of reviving the marker or just purchasing a new one. If you use markers all the time, then it might be better to just buy a new one because the likelihood that your marker will still have enough ink to do anything significant will be decreased.
However, if you rarely use your markers and the tips are dried out but still have lots of ink left in them, it would be a waste to purchase a new marker. However, it is up to you to weigh the benefits of these two options to choose the best one for your case.